在vscode中如何写shader代码的整理
ps: 本次整理的内容截止 2021.12.15 能在vscode上正常使用
🔹代码高亮 安装插件:
Shader languages support for VS Code
安装之后,shader 代码应该就有高亮显示了:
目前支持的文件后缀:
ID
名称
文件扩展名
语法
片段
hlsl
hlsl
.sf—
—
glsl
GLSL
.vs .fs .gs .comp .vert .tesc .tese .frag .geom .glsl .glslv .glslf .glslg✔︎
—
cg
Cg
.cg✔︎
—
🔹静态代码检查 安装插件:
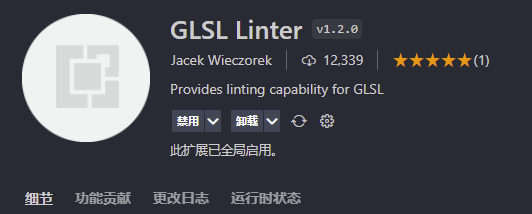
GLSL Linter
另外还有一个插件 GLSL Lint ,目前尝试没有成功使用…
所以后面暂时都使用 GLSL Linter
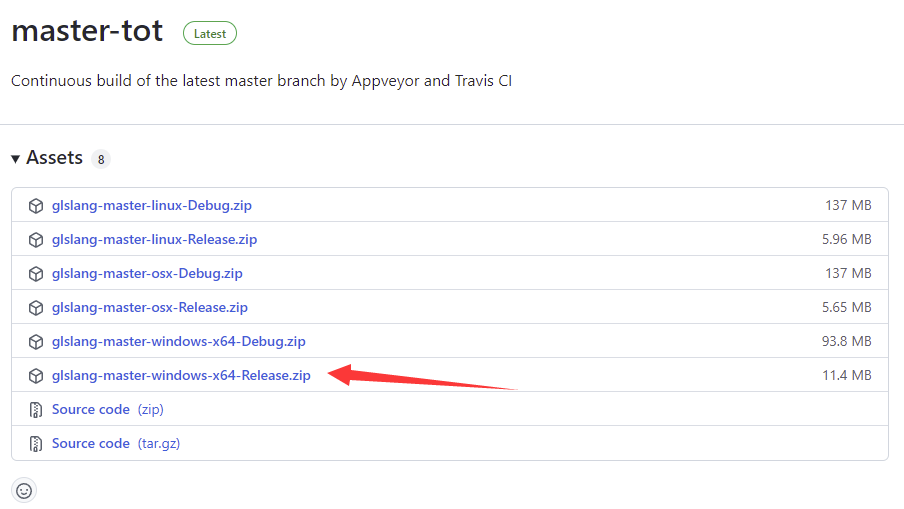
安装插件之后,需要下载 glslang:
https://github.com/KhronosGroup/glslang/releases
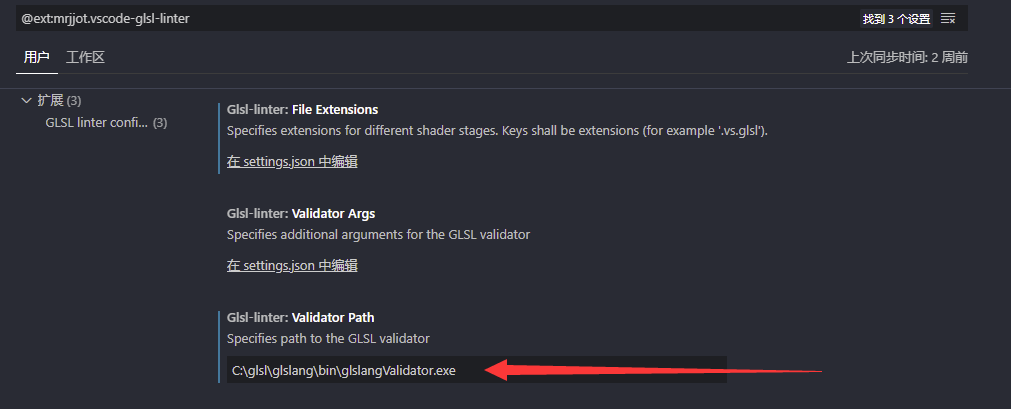
之后需要设置一个路径:
这样做了之后可能还是会报错 GLSL validator returned exit code 1
请参考这个 issues:
https://github.com/Jacajack/vscode-glsl-linter/issues/4
更改配置文件为
1
2
3
4
5
6
7
8
9
10
"glsl-linter.validatorPath" : "C:\\glsl\\glslang\\bin\\glslangValidator.exe" , "glsl-linter.fileExtensions" : { ".fs.glsl" : "frag" , ".fs" : "frag" , ".vs.glsl" : "vert" , "vs" : "vert" , ".tes.glsl" : "tese" , ".tcs.glsl" : "tesc" , ".gs.glsl" : "geom" }
并且 shader 文件不要以 .glsl 来结尾!!!
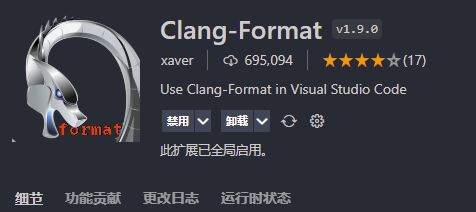
🔹代码格式化 安装插件 Clang-Format
设置代码格式化程序为 Clang-Format
然后使用快捷键 ctrl + alt +f 即可格式化
🔹代码补全 ctrl + shift + p 快捷键
输入 >user snippets
然后输入 glsl
进入 glsl.json
进入链接:https://gist.github.com/lewislepton/8b17f56baa7f1790a70284e7520f9623
将代码复制到 glsl.json中,即可出现代码补全
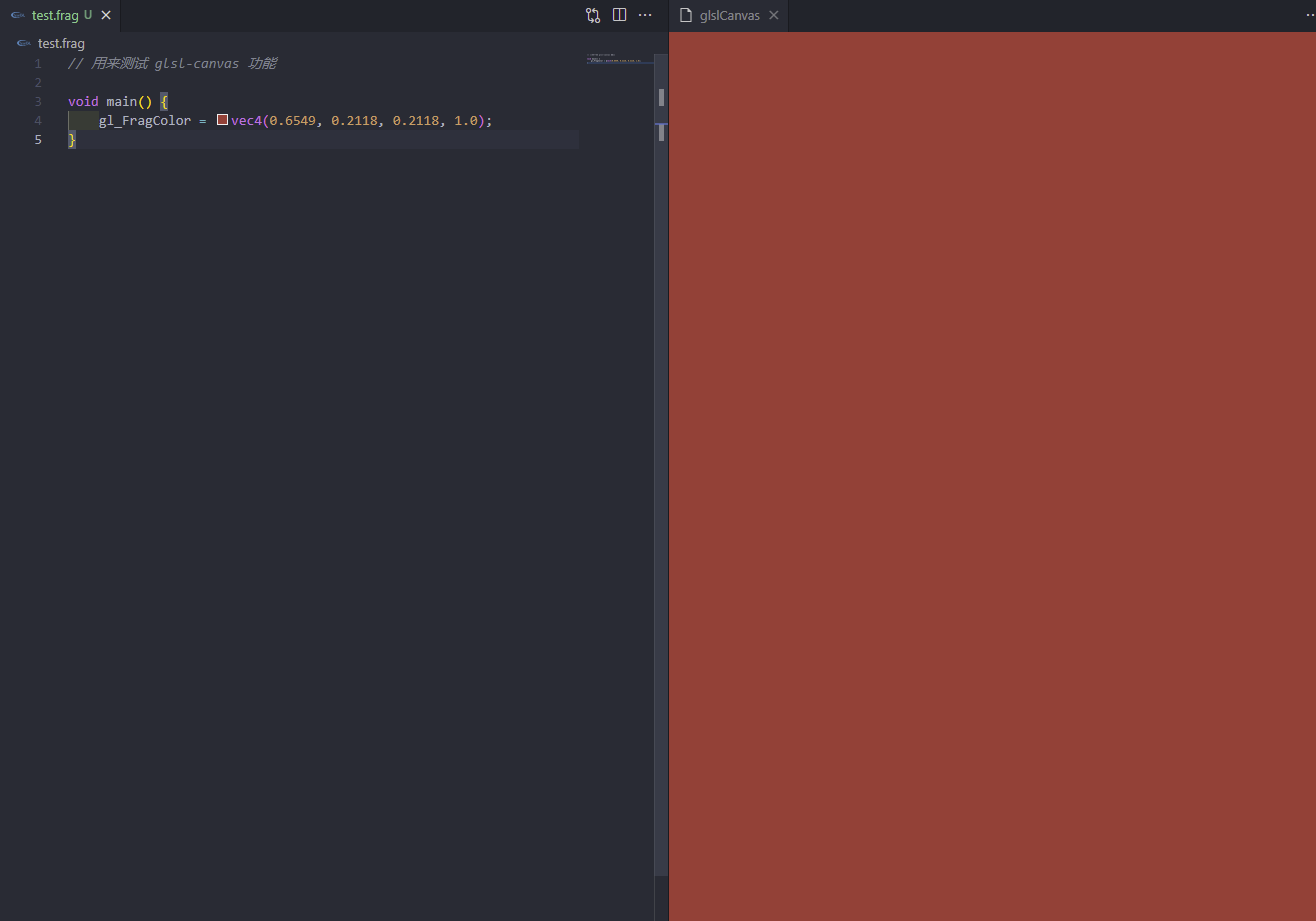
🔹快速展示 安装插件 glsl-canvas
使用方法:
ctrl + shift + p 快捷键
输入 show glslCanvas
简单效果:
🔹shader 文件导入 three.js Games202 中的方法参考 直接读取文件,然后获得字符串
使用例
1 material = buildPhongMaterial (colorMap, mat.specular .toArray (), light, Translation , Scale , "./src/shaders/phongShader/phongVertex.vs" , "./src/shaders/phongShader/phongFragment.fs" );
buildPhongMaterial 方法
1
2
3
4
5
6
7
8
9
async function buildPhongMaterial (color, specular, light, translate, scale, vertexPath, fragmentPath ) { let vertexShader = await getShaderString (vertexPath); let fragmentShader = await getShaderString (fragmentPath); return new PhongMaterial (color, specular, light, translate, scale, vertexShader, fragmentShader); }
getShaderString 方法
1
2
3
4
5
6
7
8
9
10
11
12
13
14
15
16
17
18
19
20
21
async function loadShaderFile (filename ) { return new Promise ((resolve, reject ) => { const loader = new THREE .FileLoader (); loader.load (filename, (data ) => { resolve (data); }); }); } async function getShaderString (filename ) { let val = '' await this .loadShaderFile (filename).then (result => val = result; }); return val; }
webpack 的方法 首先需要安装 raw-loader
1 $ yarn add raw-loader --dev
配置 webpack ,例子:
1
2
3
4
5
{ test : /\.(glsl|vs|fs|vert|frag)$/ , exclude : /node_modules/ , use : ['raw-loader' ], },
然后shader文件,直接导入即可
使用例:
1
2
3
4
5
6
7
8
9
10
11
import vertexShaderFirstPass from './shaders/vertexShaderFirstPass.vert' ;import fragmentShaderFirstPass from './shaders/fragmentShaderFirstPass.frag' ;... ... const materialFirstPass = new THREE .ShaderMaterial ({ vertexShader : vertexShaderFirstPass, fragmentShader : fragmentShaderFirstPass, side : THREE .BackSide , });
🔹目前已知缺陷(主要是和three.js 使用) 静态检查不正确 注意,和一同three.js使用的时候,three.js帮我们内置了变量
请参考:
https://threejs.org/docs/index.html?q=webgl#api/zh/renderers/webgl/WebGLProgram
所以可能会出现如下问题:
undeclared identifier
not supported for this version or the enabled extensions
等等…
这可能是由于 three.js 中使用shader 会对你写的shader重新封装…
例如:
这一段传入的代码会被 three.js 重新封装
1
2
3
4
5
6
7
out vec3 worldSpaceCoords;void main(){ worldSpaceCoords = position + vec3 (0.5 , 0.5 , 0.5 ); gl_Position = projectionMatrix * modelViewMatrix * vec4 ( position, 1.0 ) }
实际输出的代码为:
1
2
3
4
5
6
7
8
9
10
11
12
13
14
15
16
17
18
19
20
21
22
23
24
25
26
27
28
29
30
31
32
33
34
35
36
37
38
39
40
41
42
43
44
45
46
47
48
49
50
51
52
53
54
55
56
57
58
59
60
61
62
63
64
65
66
67
1 : #version 300 es 2 : precision mediump sampler2DArray ;3 : #define attribute in 4 : #define varying out 5 : #define texture2D texture 6 : precision highp float ;7 : precision highp int ;8 : #define HIGH_PRECISION 9 : #define SHADER_NAME ShaderMaterial 10 : #define VERTEX_TEXTURES 11 : #define GAMMA_FACTOR 2 12 : #define MAX_BONES 0 13 : #define BONE_TEXTURE 14 : #define FLIP_SIDED 15 : uniform mat4 modelMatrix;16 : uniform mat4 modelViewMatrix;17 : uniform mat4 projectionMatrix;18 : uniform mat4 viewMatrix;19 : uniform mat3 normalMatrix;20 : uniform vec3 cameraPosition;21 : uniform bool isOrthographic;22 : #ifdef USE_INSTANCING 23 : attribute mat4 instanceMatrix;24 : #endif 25 : #ifdef USE_INSTANCING_COLOR 26 : attribute vec3 instanceColor;27 : #endif 28 : attribute vec3 position;29 : attribute vec3 normal;30 : attribute vec2 uv;31 : #ifdef USE_TANGENT 32 : attribute vec4 tangent;33 : #endif 34 : #if defined( USE_COLOR_ALPHA ) 35 : attribute vec4 color;36 : #elif defined( USE_COLOR ) 37 : attribute vec3 color;38 : #endif 39 : #if ( defined( USE_MORPHTARGETS ) && ! defined( MORPHTARGETS_TEXTURE ) ) 40 : attribute vec3 morphTarget0;41 : attribute vec3 morphTarget1;42 : attribute vec3 morphTarget2;43 : attribute vec3 morphTarget3;44 : #ifdef USE_MORPHNORMALS 45 : attribute vec3 morphNormal0;46 : attribute vec3 morphNormal1;47 : attribute vec3 morphNormal2;48 : attribute vec3 morphNormal3;49 : #else 50 : attribute vec3 morphTarget4;51 : attribute vec3 morphTarget5;52 : attribute vec3 morphTarget6;53 : attribute vec3 morphTarget7;54 : #endif 55 : #endif 56 : #ifdef USE_SKINNING 57 : attribute vec4 skinIndex;58 : attribute vec4 skinWeight;59 : #endif 60 : 61 : out vec3 worldSpaceCoords;62 : void main()63 : {64 : 65 : worldSpaceCoords = position + vec3 (0.5 , 0.5 , 0.5 ); 66 : gl_Position = projectionMatrix * modelViewMatrix * vec4 ( position, 1.0 )67 : }
目前无解,和three.js配合使用时,请关闭代码检查的功能…
参考 VsCode安装shader glsl环境
https://zhuanlan.zhihu.com/p/151384233
Jacajack/vscode-glsl-linter
https://github.com/Jacajack/vscode-glsl-linter

